10 social media marketing tips for businesses
Social media should be a key piece in your brand’s marketing strategy, but it’s not a one-size-fits-all product. Here are ten tips for how your business should use these channels.
SocialWeaver offers a wide range of widgets to help you track and analyze your social media and employee advocacy program performance. Customizing your dashboard allows you to create a personalized analytics page that meets your specific needs. In this article, we will guide you through the process of managing widgets on the Analytics page in SocialWeaver.
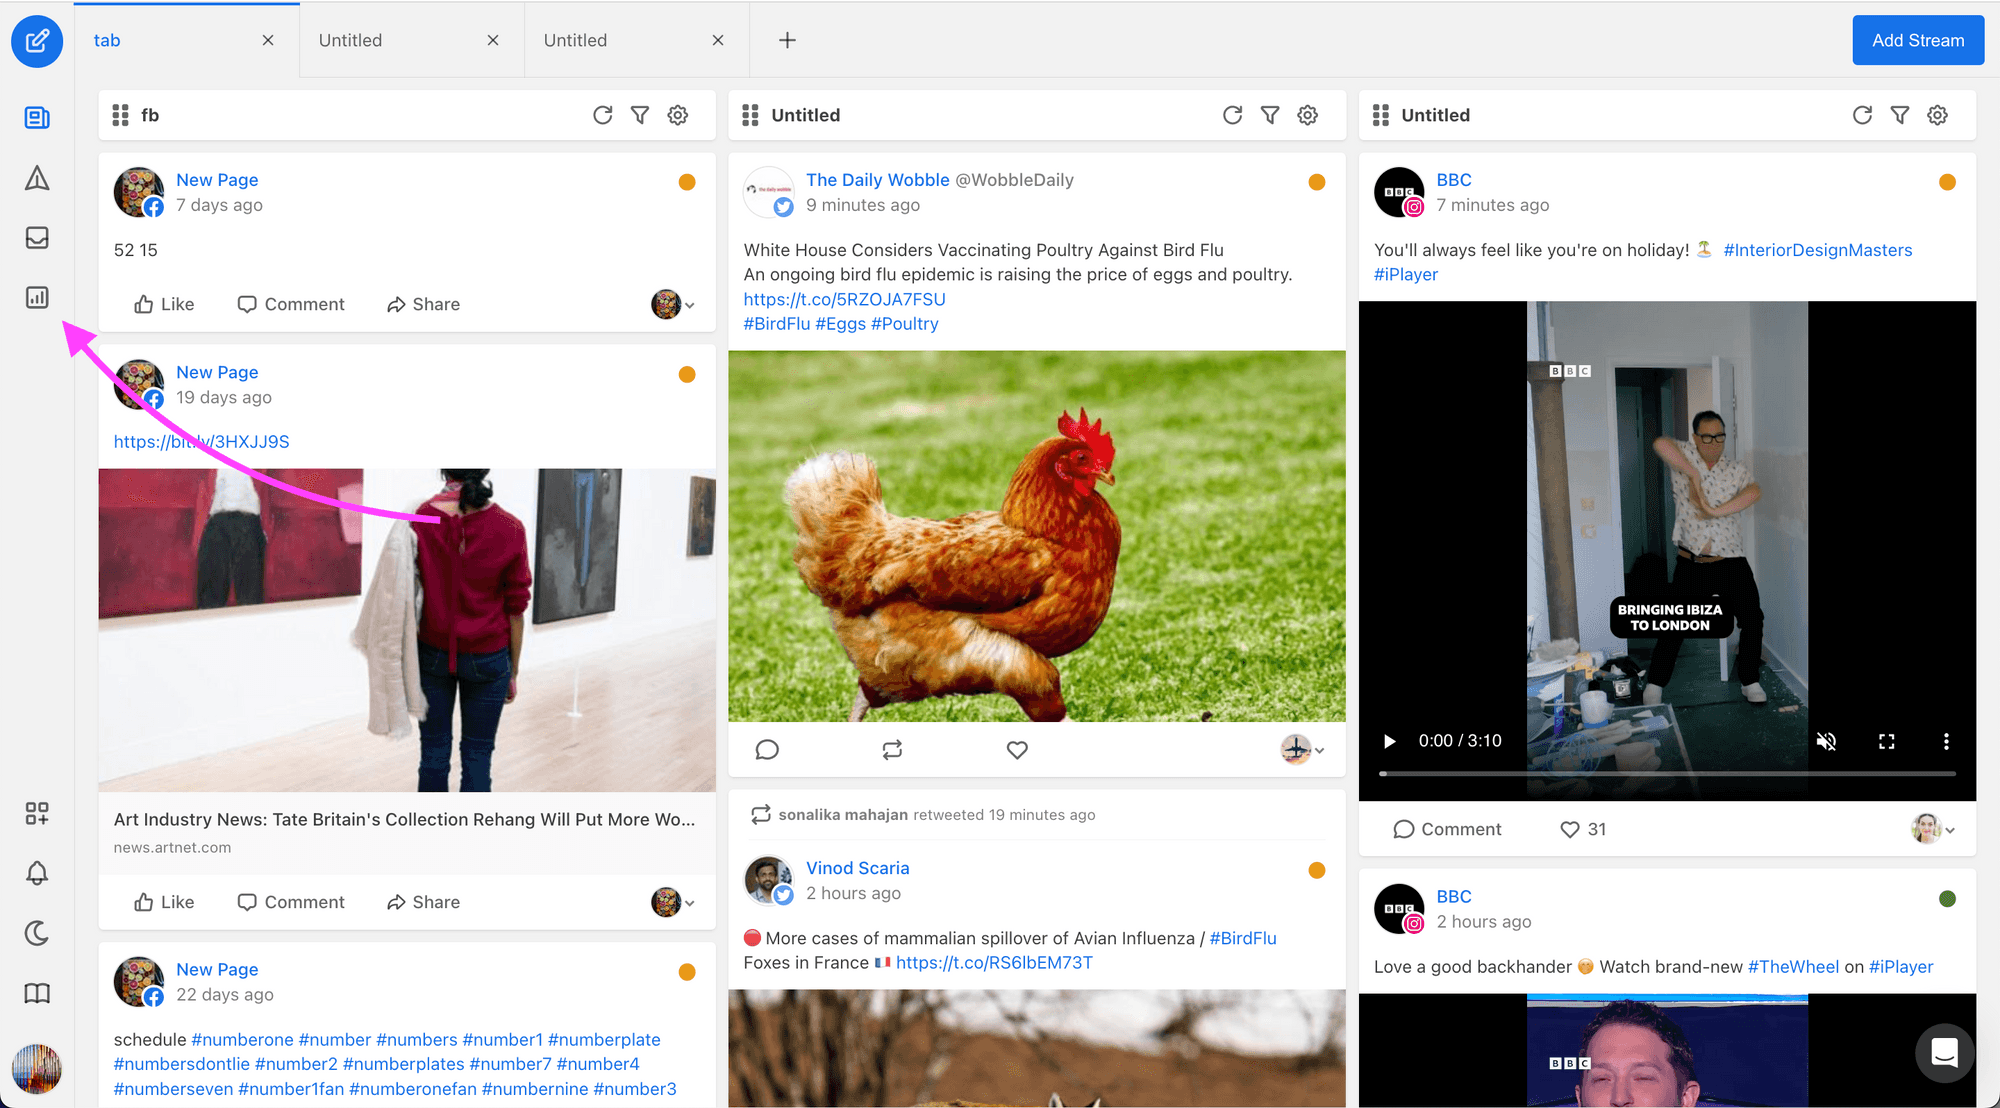
To get started managing your widgets, follow these steps:
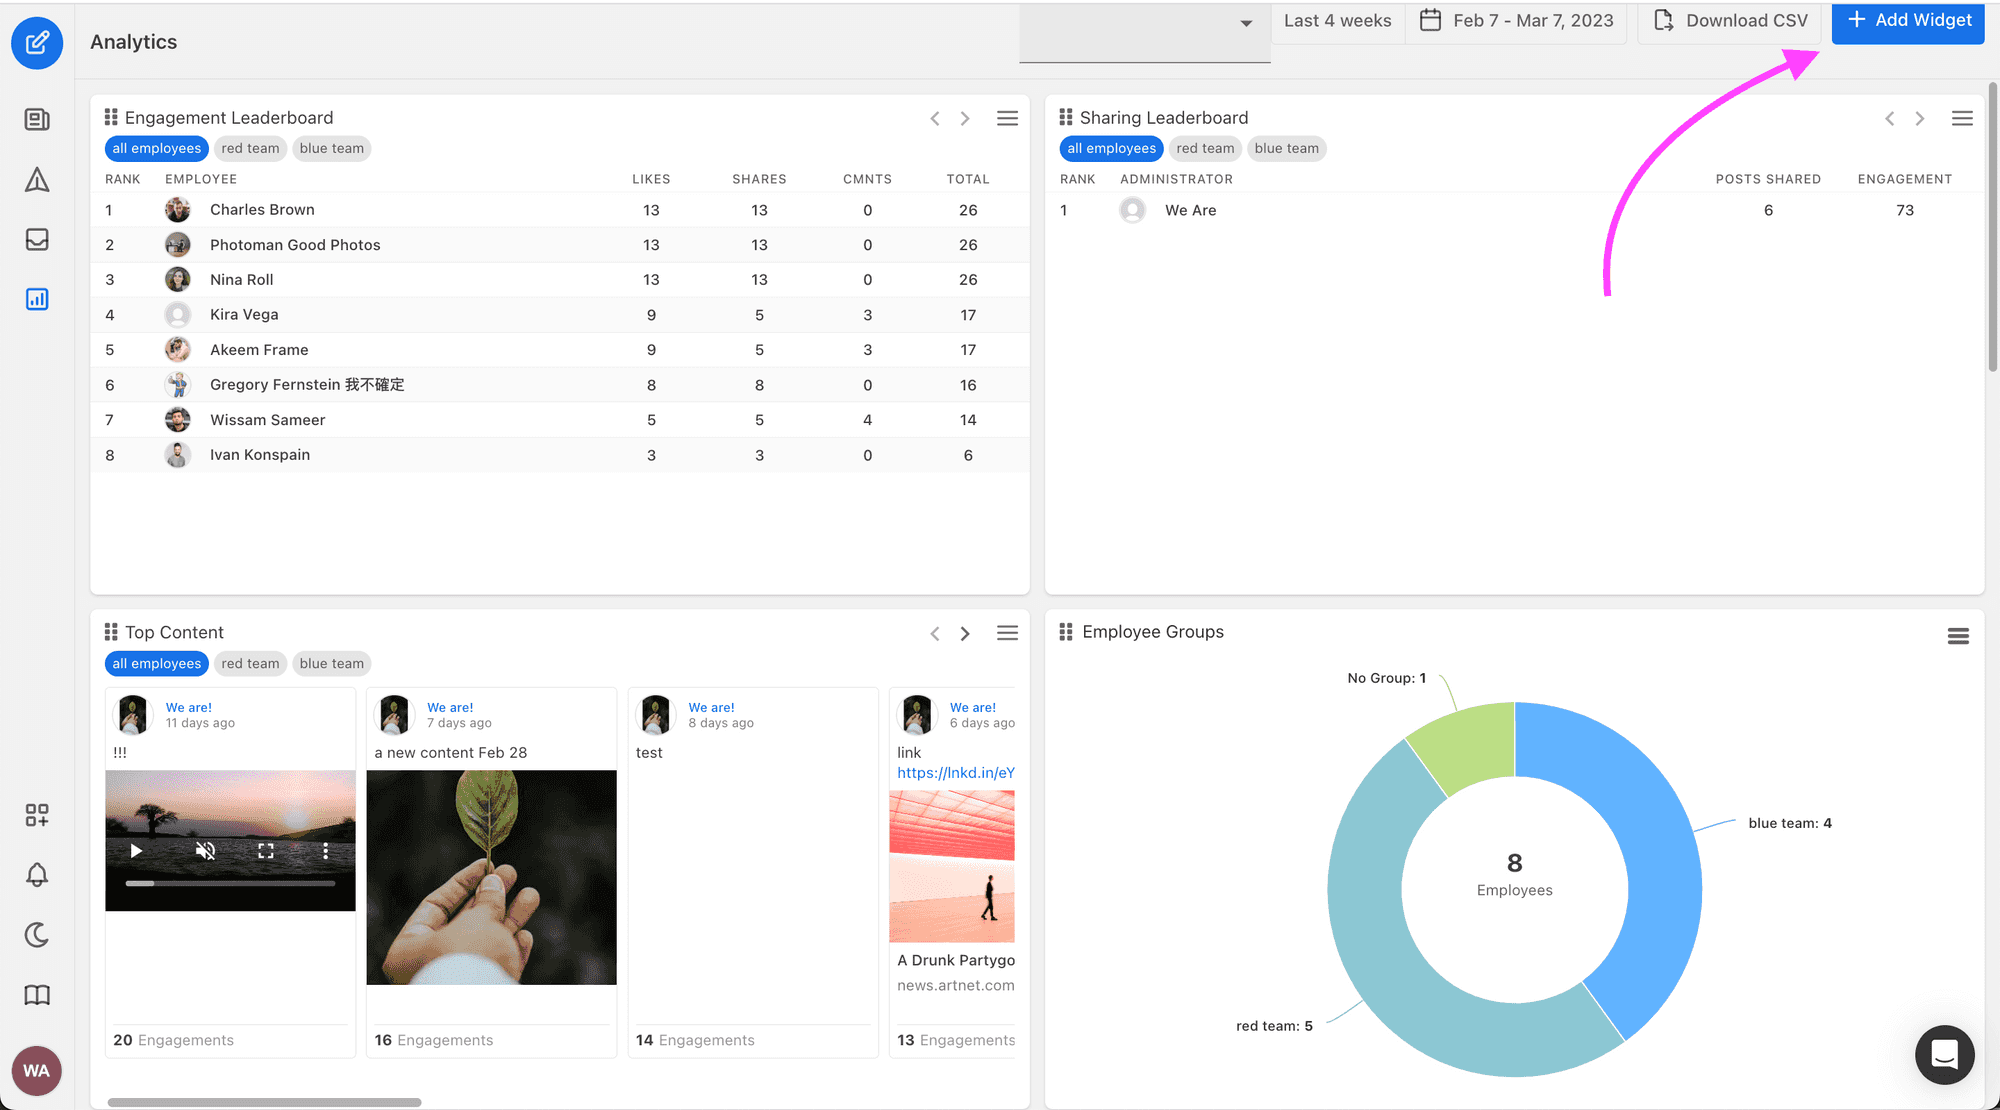
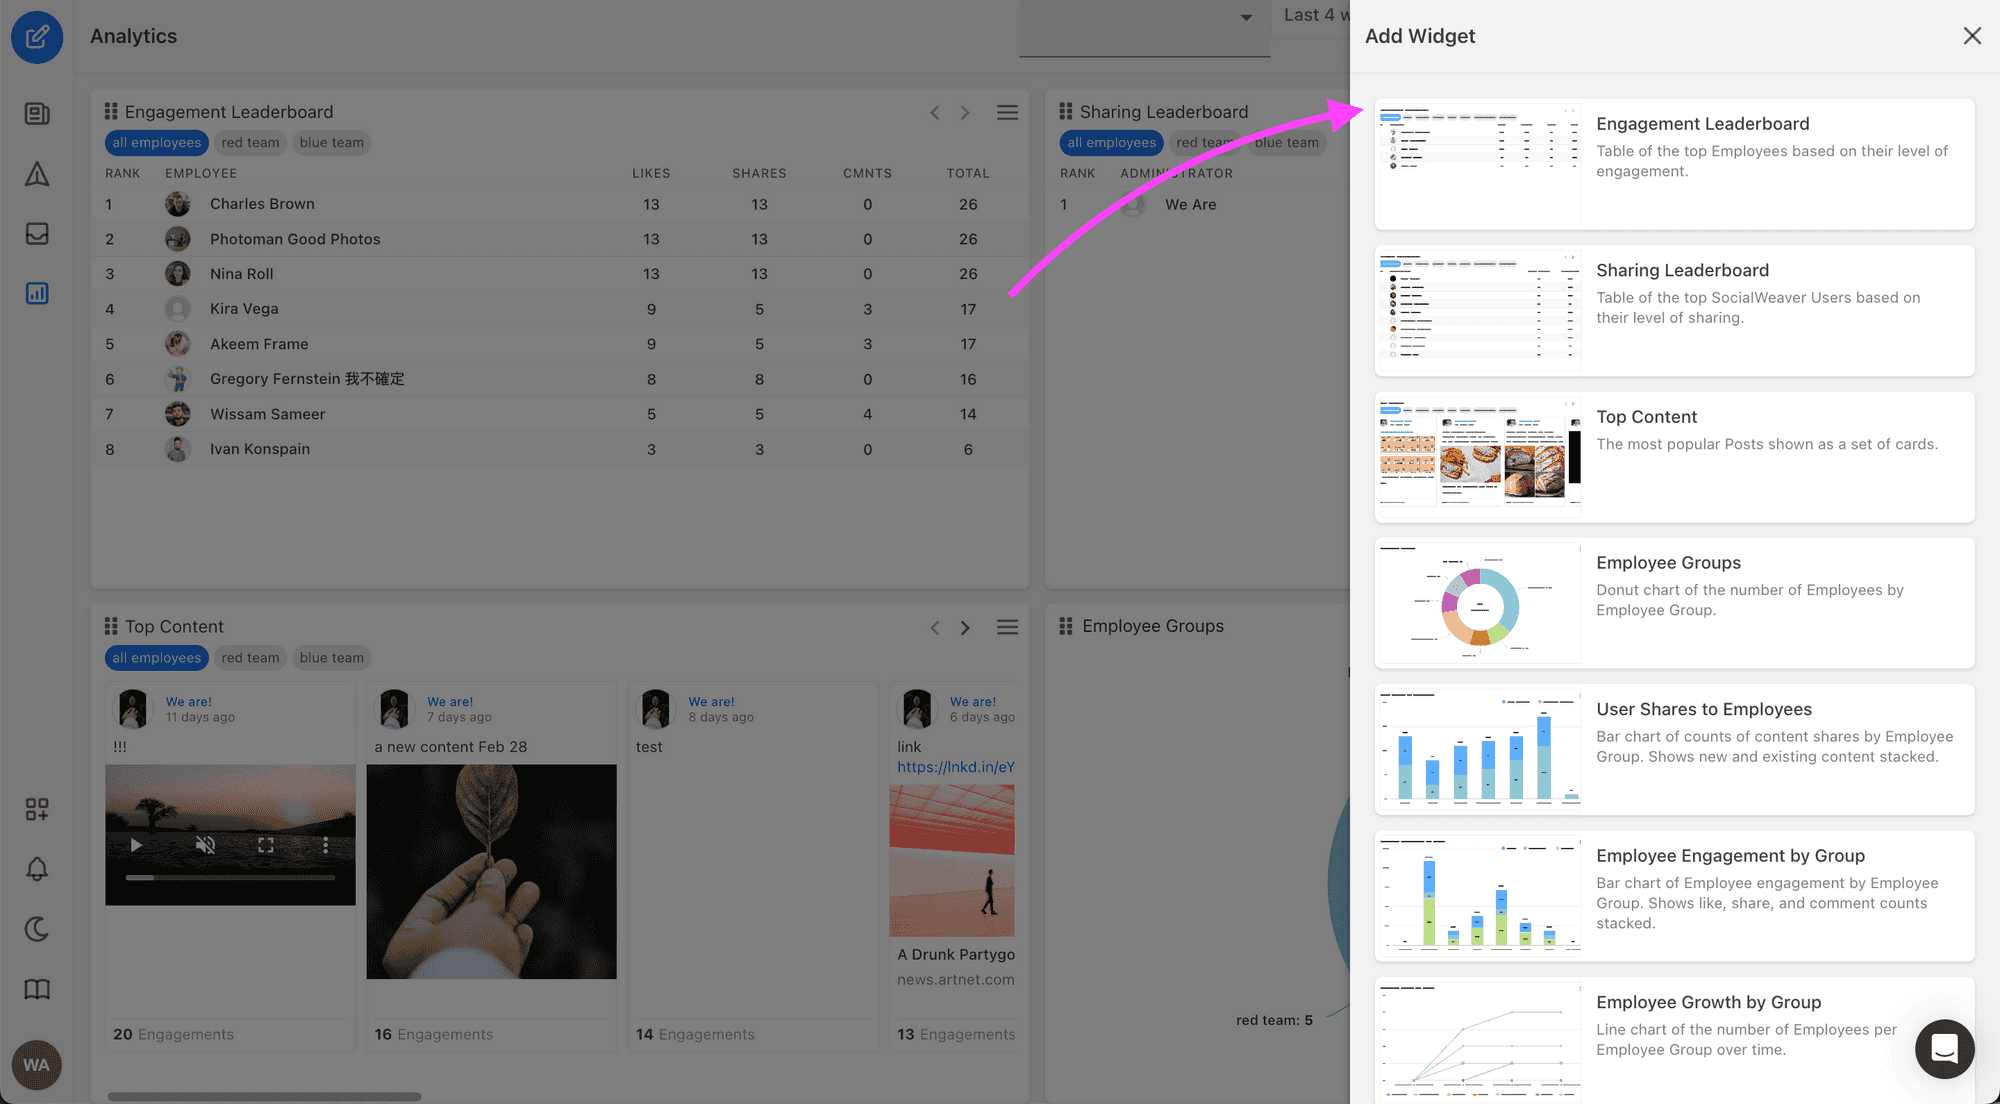
3. Click Add widget from the top right corner of the page to see a list of all available analytics widgets.
4. From Add Widget list, click on the widget you'd like to add to the dashboard. Note that each widget has a brief description explaining what the widget does.
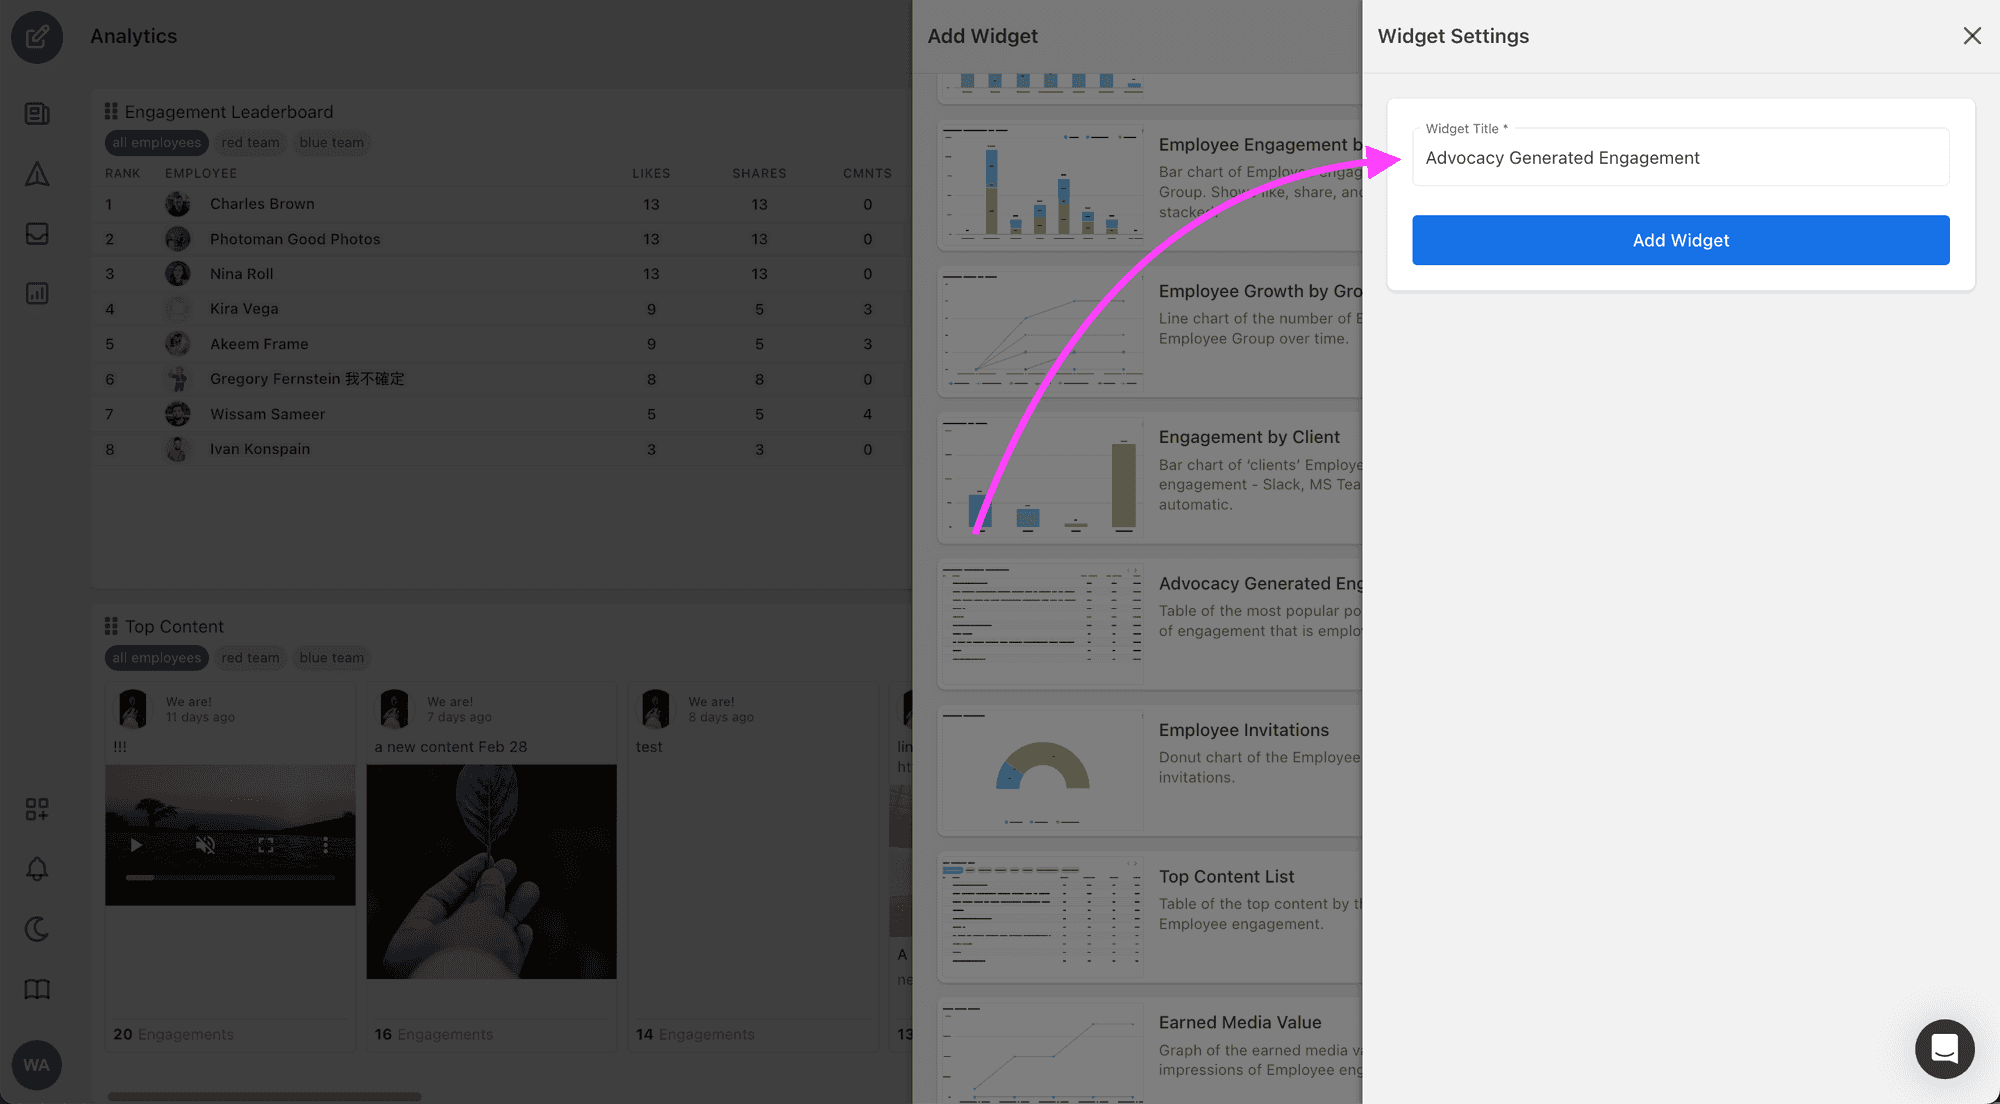
5. After selecting the widget, choose a name for your widget. This will help you identify it later on your dashboard.
6. Click Add Widget to add the widget to your dashboard.
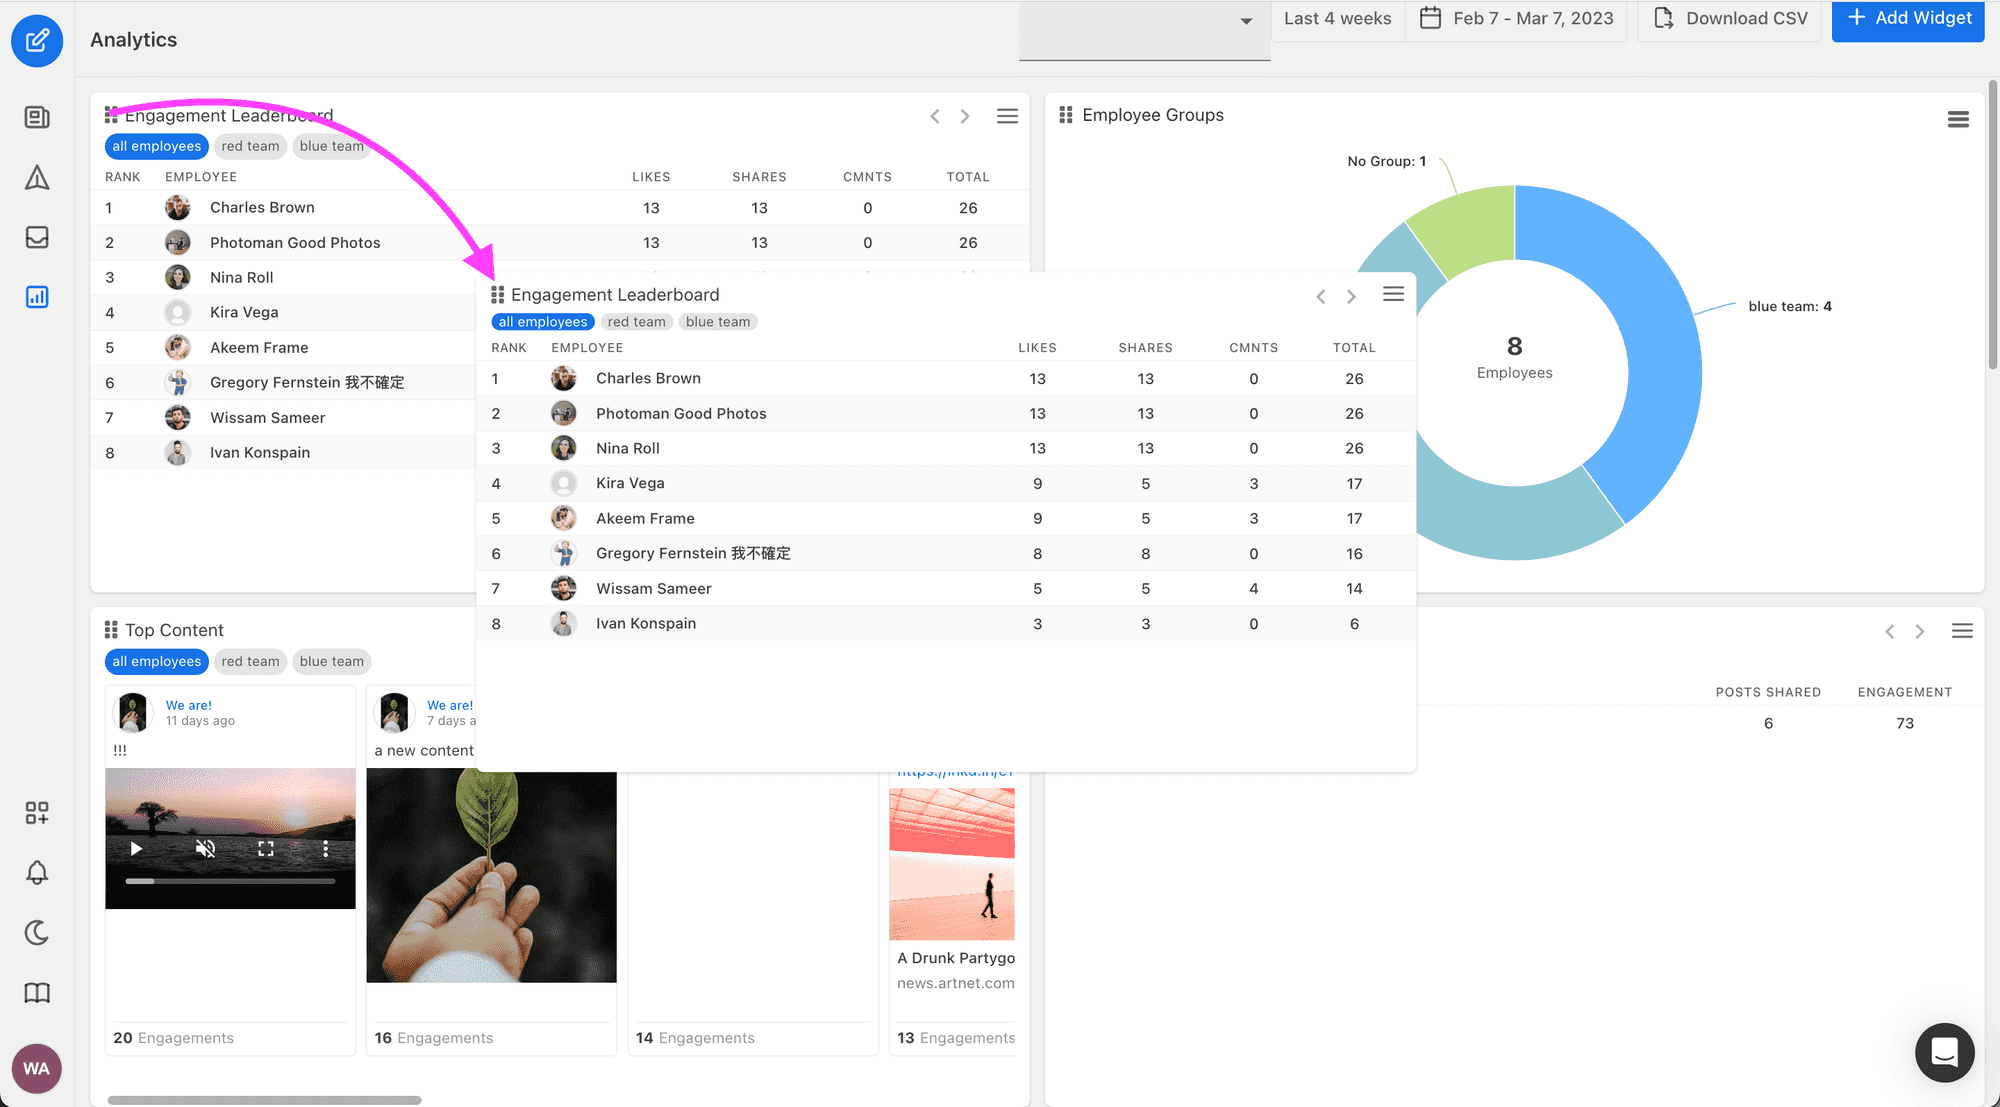
To rearrange widgets on your dashboard, simply click and drag the widget to the desired location. You can move the widgets to the left, right, up, or down, depending on your preferences.
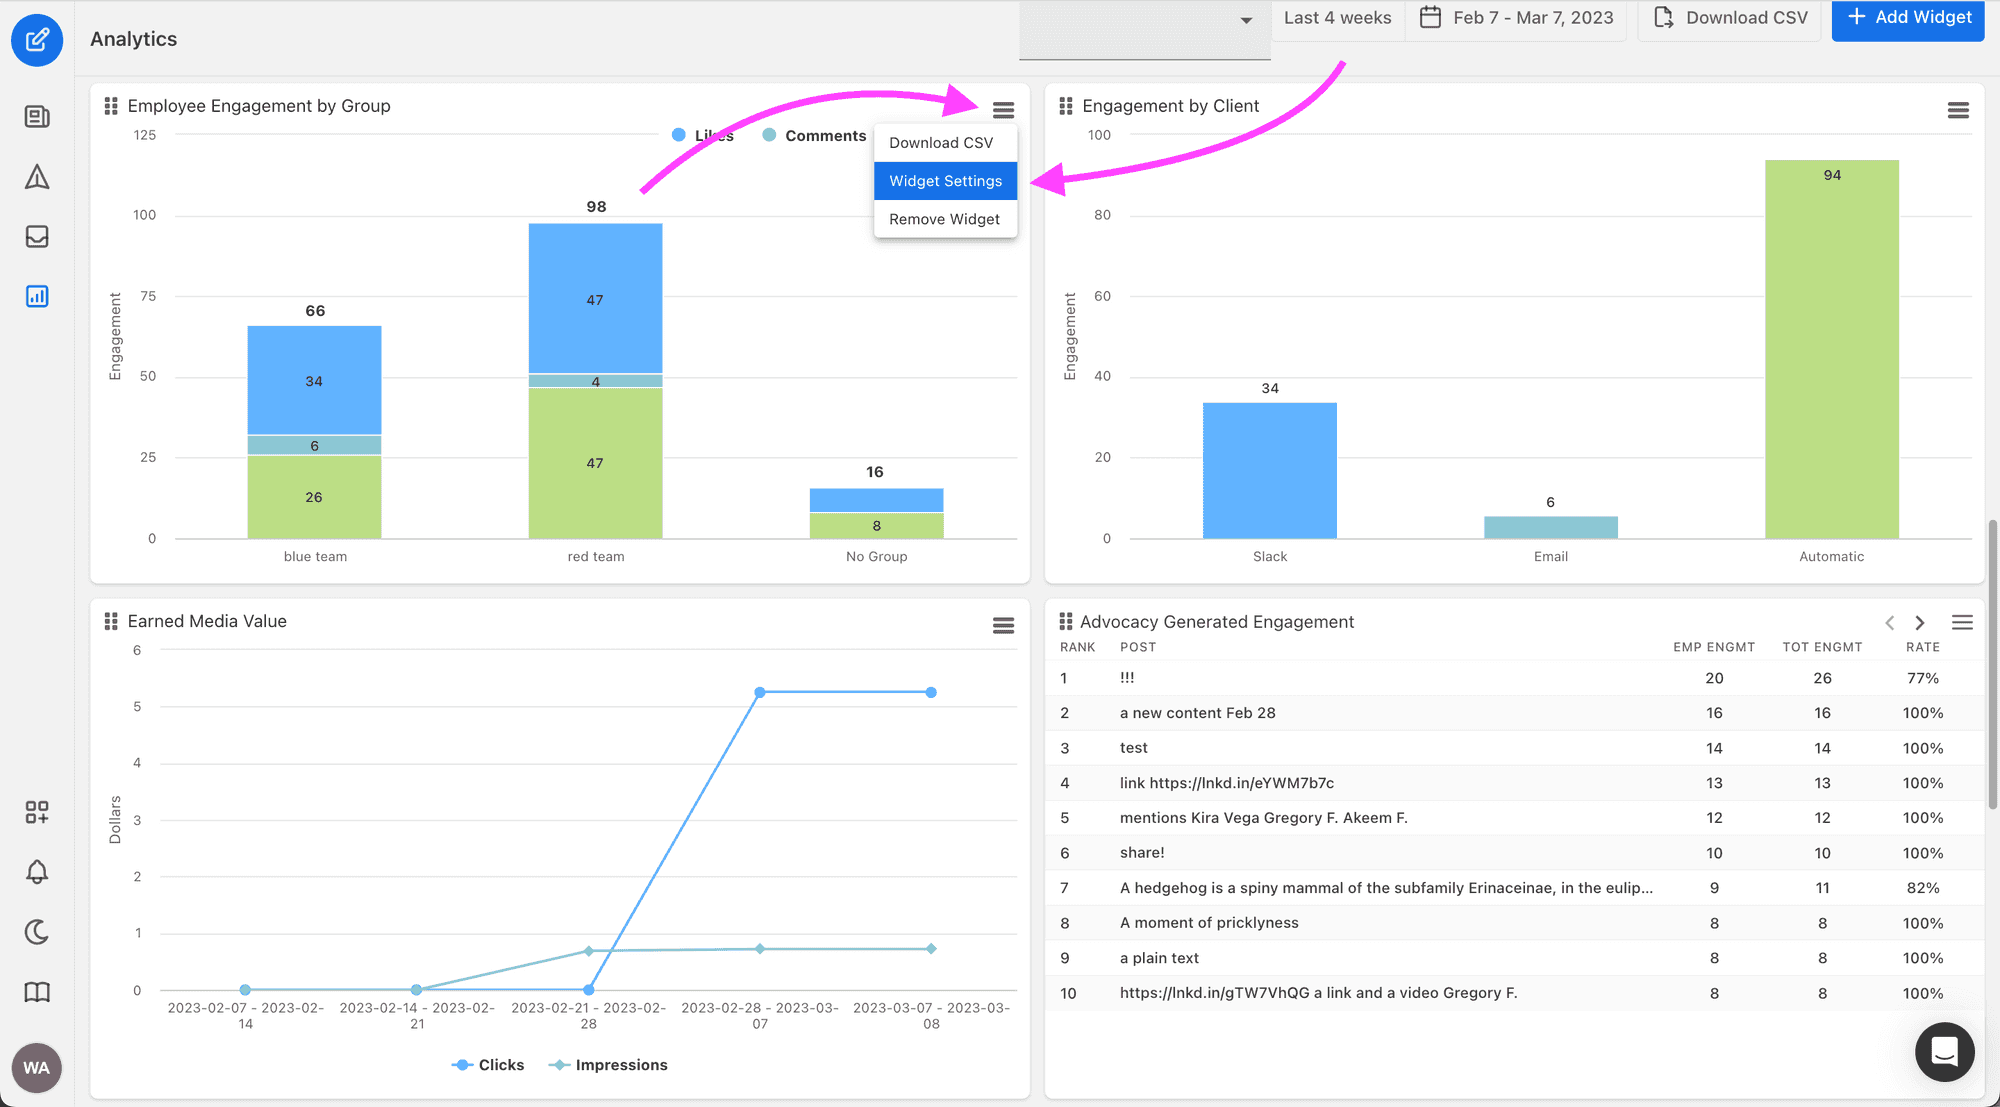
To rename a widget, click on the context menu located at the top right corner of the widget, then select Widget Settings to update the widget name.
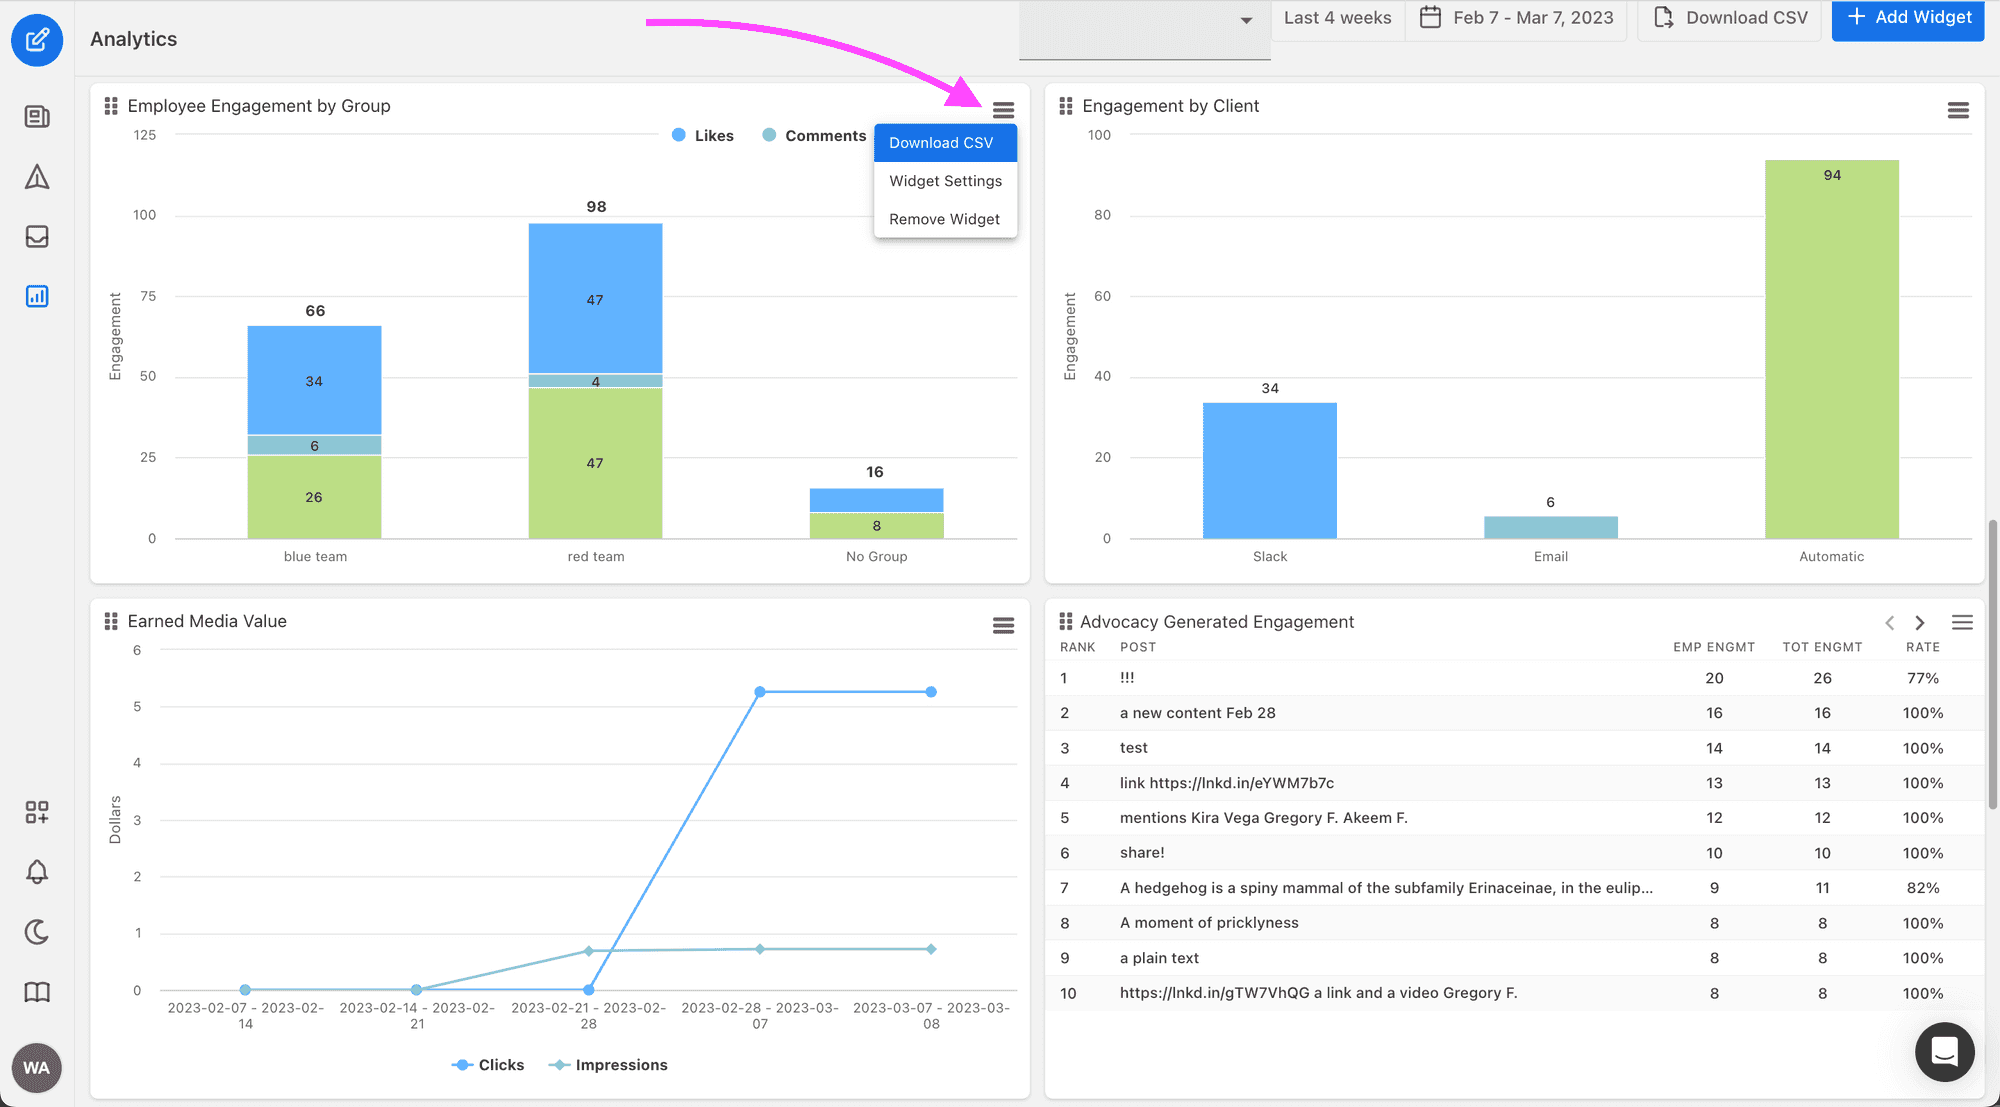
To export data from a single widget, click on the chart context menu on the widget you want to export. Click on Download CSV to export the data to a CSV file.
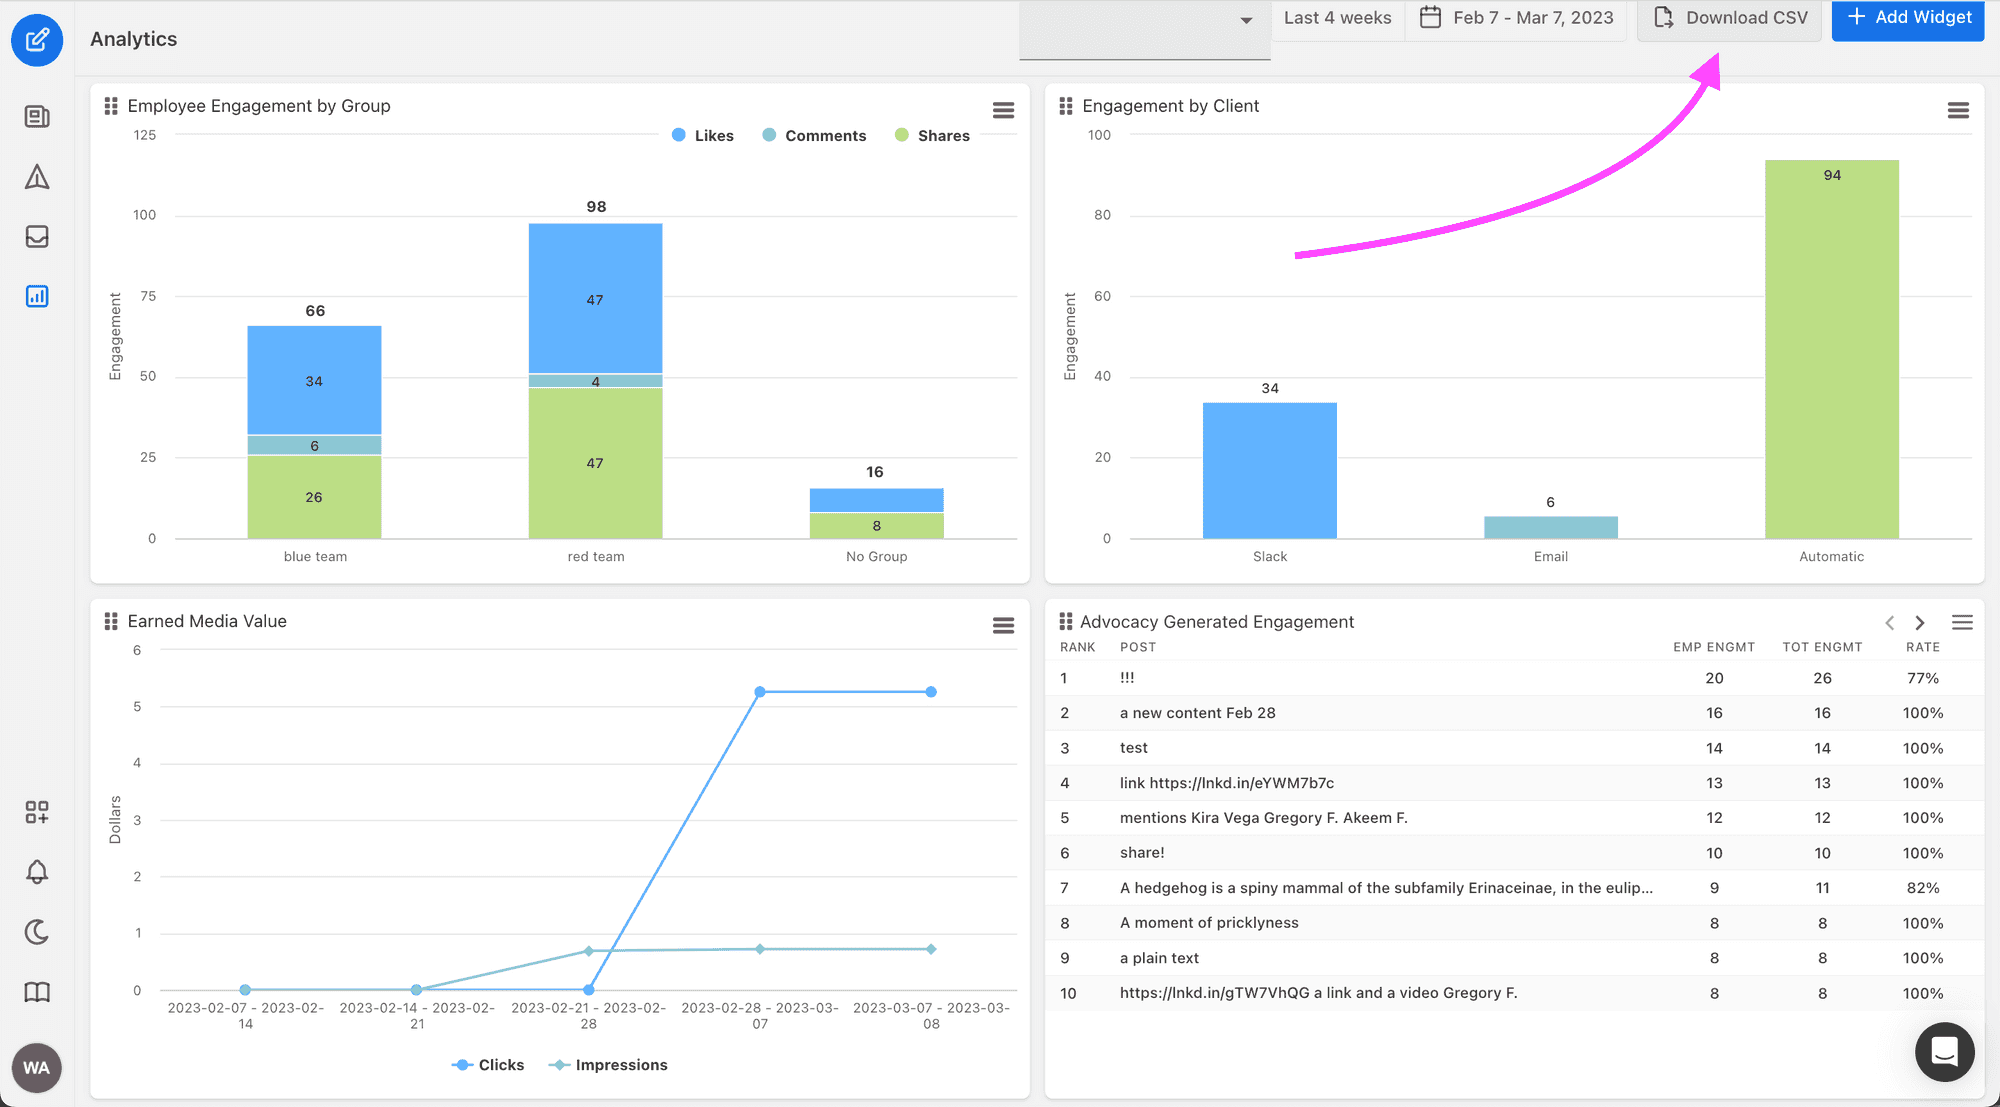
To export data from all of your widgets at once, click on the Download CSV button at located the top right corner of the Analytics dashboard. This will export the data from all widgets for the selected time range.
With these simple steps, you can easily manage your widgets and create a customized dashboard that will meet your needs. If you have any questions or need further assistance, please don't hesitate to contact our support team.
Schedule daily or weekly analytics reports to your inbox. Choose frequency, start date, recipients, and manage reports anytime.
Track your employee advocacy program onboarding progress from start to finish.
Learn how to use the Sharing Leaderboard widget in SocialWeaver to measure the most active users who are sharing content with advocates or employees.

